Bye bye September, hello October!

Hello October!
I can't believe how fast our school year is moving along!
We have a very busy month ahead of us...
this week we are going on our first field trip to Downey pumpkin patch.  It will be so much fun!
We are wrapping up our September units and starting our unit on Pumpkins!
I am teaming up with my teaching partner (and great friend), Mrs. Parisi, to create a Pumpkin Unit to be posted on TpT later on this week.
Stay tuned!
 
In the meantime, look at what we have been up to!
 
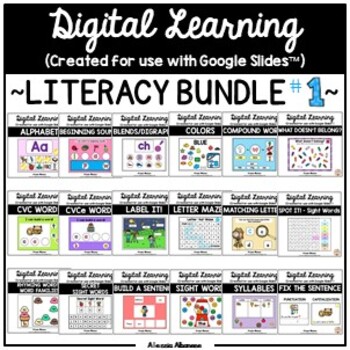
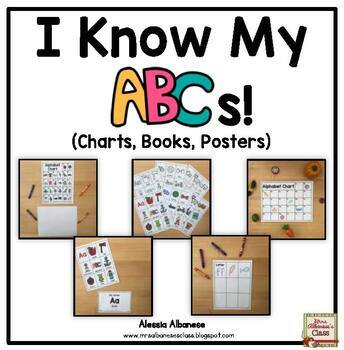
We finished learning about our September sight words by completing this fun activity from my ABC's and 123's unit.
 
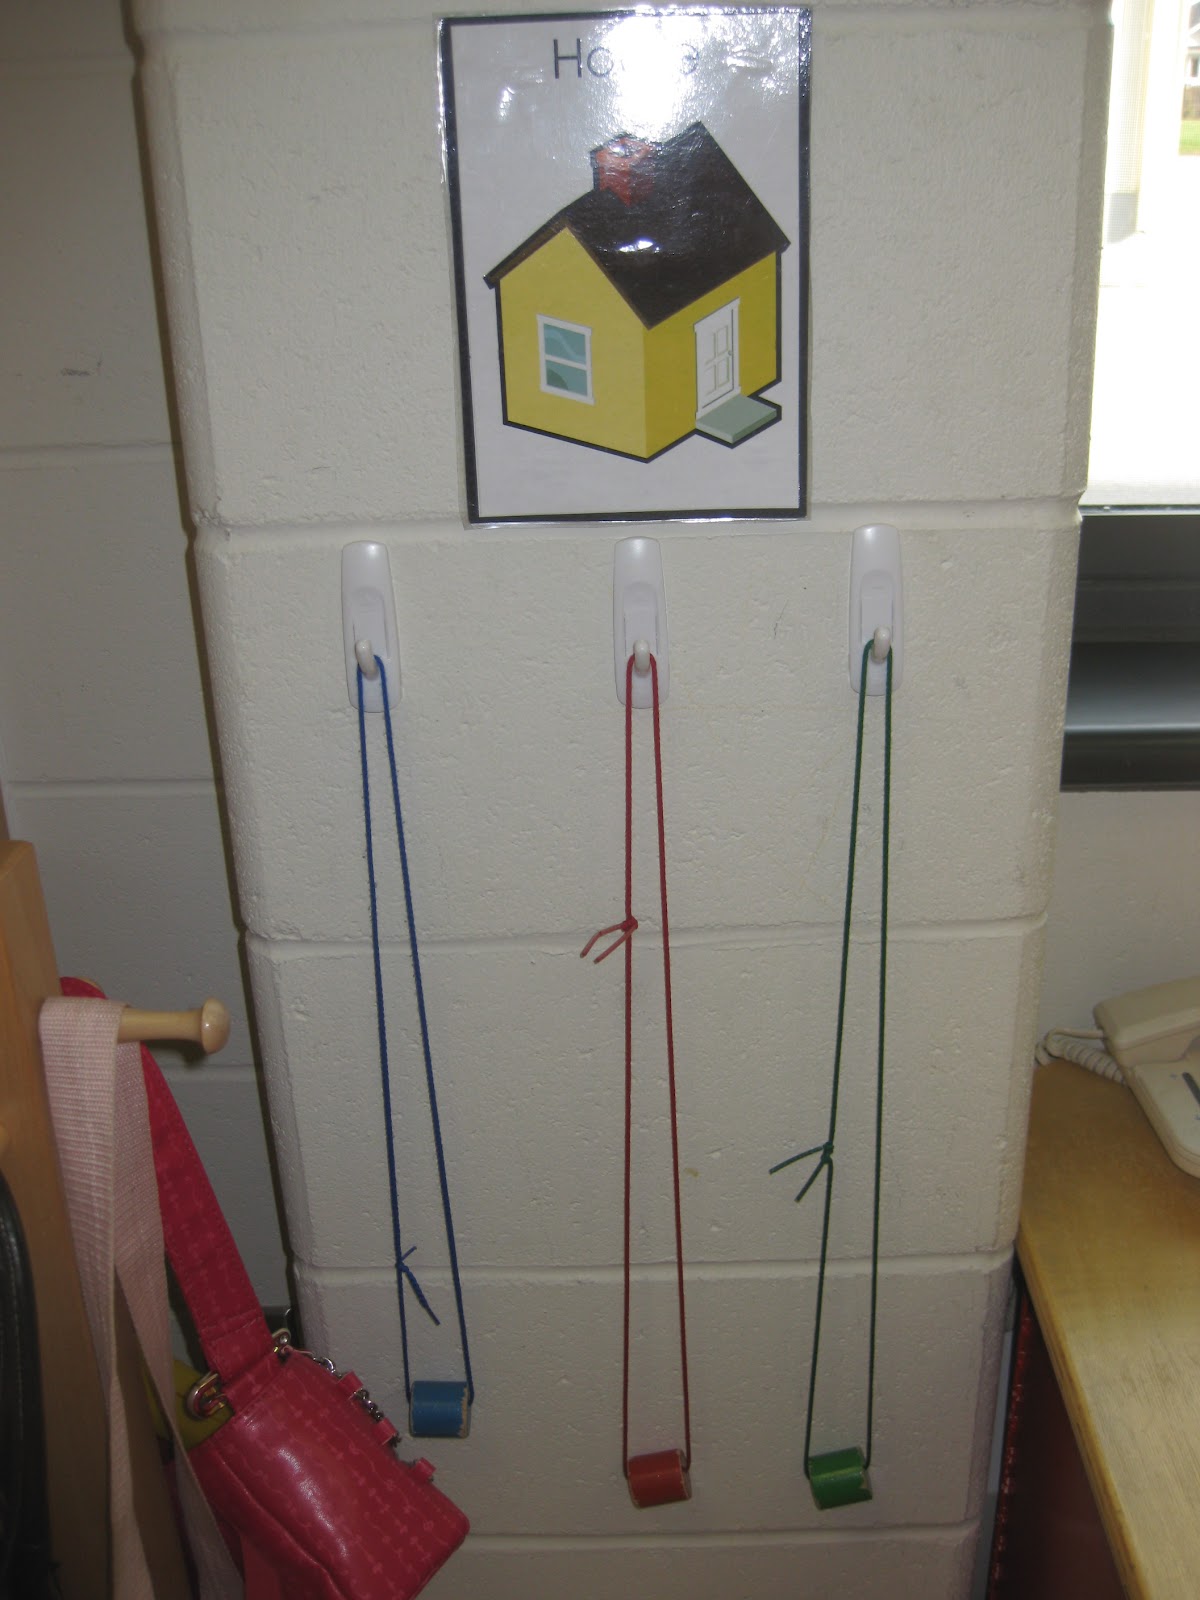
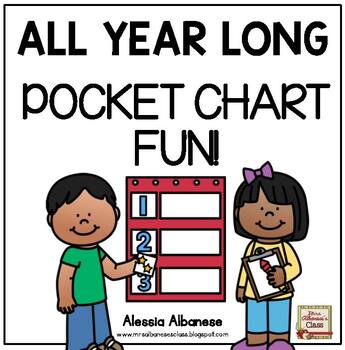
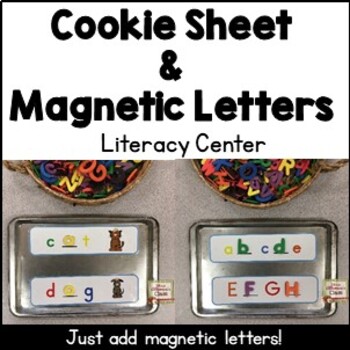
This was our Pocket Chart story for the week.  The JK students had to read the sentence and match the colour of the apple.  The SK students had to complete the worksheet by filling in the missing sight word "am".
You can find this and other pocket chart activities in my
 
Here's how I store my worksheets beside my pocket chart for easy access.  I keep pencils, erasers and pencil crayons to help the students fill in the worksheet.
 
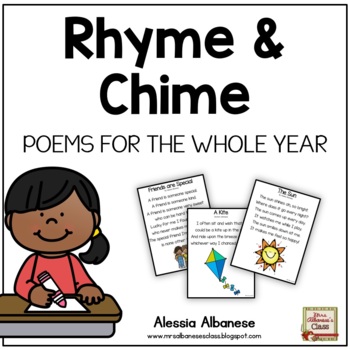
I have the best volunteer that assists in my classroom each Tuesday and Thursday.  Here is Ms. Josie making poetry cards for each letter of the alphabet.  They correspond to
 
I love the poems!  Ms. Josie is so talented!  I can't draw at all! HA!
(Sorry - I have no idea why the picture is rotated!  I can't seem to fix it either!)
 
I have had a lot of e-mails asking how I store the worksheets from my centres and when I send them home.
After my students complete a worksheet during centre time, they put it in the "Finished Bin" (which is just a coloured basket on my shelf). 
I go through them quickly at the end of the day and file them away in each student's file (which is just a file folder in my filing cabinet).  At the end of each month, I staple all of the worksheets together and have students complete this monthly cover page.  I then put this packet into a twin pocket folder which I call my Centre Work folder.  I send this home at the end of the year.
 
My teaching partner, Mrs. Parisi, created these monthly worksheets which I love! 
They are from her Kindergarten Memory Book
(and they can easily be used for Pre-K and Grade 1 too!).
The students draw a picture of themselves and write their name on the bottom.  It's a great way to see how much they improve month after month!
(And I love that it serves as a title page to everything we have been learning about in that month).
See, now you have an easy and great way to organize all of those loose papers each month!
 
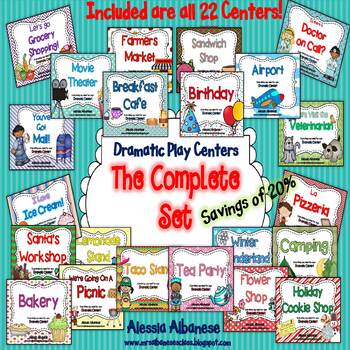
Just a reminder that everything in my TpT store is on sale 20% off only until midnight tonight!  Hurry over!
 
Coming up this week.....pumpkin fun!
 
Happy October!


10

Happy Fall Y'all (celebrate with a SALE!)

Happy Fall!
I'm celebrating the start of this new season by having a sale in my TpT store.
All items are 20% off this weekend only!
Hurry - sale ends Sunday at midnight!
 

1

Are You a Boy or a Girl? FREEBIE!

This past week we kept learning about one of our themes for September, All About Me!
After reading the book, What I Like About Me, we completed a page in our journals and focused on using the sight words "I" and "am".  We talked a lot about the fact that we are all so different but all so special!

 
Today we did this fun graphing activity.
The students made little heads that looked like themselves and we graphed it together on a class graph.  I got this idea from Julie Lee last year.
Then we completed our own graph by rolling the boy/girl die and completing the worksheet.
My kiddies LOVED it!
They kept waiting until a friend reached the top to see which column was more and which was less.
 
You can click here for a free copy of this boy/girl graphing activity.
(Clip art by DJ Inkers)
 
Tomorrow night is our Open House.  I still have a few more things to prepare for but I will be back this weekend with lots more pictures of our week and what's coming up!


4

The winner is....

Sorry for the delay everyone!
The winner of my Back to School Flash Giveaway is...
 
 
Congratulations to Sara! 
 
Please e-mail me by Thursday midnight at kindergartenteacher@rogers.com because I would love to send you everything but you didn't leave me your e-mail!


1

The first 2 weeks back...

Phew!
It's been two weeks now that we have been back at school.
I have a great group of students this year!  They all come to school with big smiles on their faces which makes the day run so much better when you start off on the right foot, don't you agree?
 
As many of you know, I teach full day/alternate day kindergarten so I have 2 groups of students.  This year I am teaching a Senior Kindergarten class on the A-days (Mon/Wed/alt. Fri) and a split JK-SK class on the B-days (Tue/Thu/alt. Fri).  I think my little JKs will learn so much being with the SKs!
 
We have been so busy these past two weeks.  Here are a few pictures of what we have been up to.
 
We started our Literacy Baskets this past week.  My volunteer, Miss Josie, was helping out at this table group.  The students are playing a colour (roll the die) game called Going to School. 
You can find this game in Tanya Solano and my 
 
The students are practicing directionality using a pencil.  This activity is from Julie Lee.
 
We had so much fun using markers doing Rainbow Strokes.  It is also from Julie Lee.
 
I have a student teacher, Ms. Pattara, learning and teaching in our class for next several weeks.  She is great!  Ms. Pattara worked with the students to complete their Rainbow Names.
 
I did this Rainbow Names activity (from Deanna Jump) last year and it came out so cute that I thought we should do it again.  The names are drying this weekend but we will be hanging them up this week so check back for pictures.
 
I showed students all the fun things we can do at the Writing Centre.  We start this centre off s-l-o-w.  This week I put in some activities like this one, What's In My Backpack?, from my Back to School Literacy and Math Activities.
 
My kiddies already LOVE the Write the Room activity and we just started this week!  I couldn't keep up!  They all wanted a clipboard to do this centre!
This is the Back to School Write the Room centre.  My students are searching for the hidden school buses that have words and pictures on them.  They must record their information on the worksheet.  They just love when I tell them that they are Mystery Word Detectives! 
(And using that clipboard is SO.MUCH.FUN!)
 
We will be starting with our Pocket Chart centre soon.  All of these activities will come from my best-selling All Year Long Pocket Chart Fun unit. 
I have had a lot of e-mails asking me how I store my Pocket Chart activities.
 
 
I put the sentence strips, along with the individual words cut up for a matching activity, in here.  It's just a sentence strip box from Trend but the right size to hold everything.
 
 
Then I store my worksheets and coloured pictures in labelled individual envelopes in this plastic bin.
 
You can click on the link below if you would like the large sign for your storage bin.
 
 
Would you like to win EVERYTHING from my units that appears on this blog post?
 
That's right!  You can win my:
 
...I'll even throw in this one...
 
Just leave me a comment with your e-mail address below.  ONE lucky winner will be chosen.
Hurry! 
You have to act quick ... contest closes tonight at midnight EST!
 
Happy teaching!


86

Classroom Pics...and It's Here (BTS)

In case your wondering what BTS is...it's my way of referring to Back to School!  I can't say the whole thing because it brings me back down to reality and I don't think I am ready to face it just yet!
 
I go back to work tomorrow! AHHH!
 
I was hoping to post these pictures of my classroom over the weekend but I truly spent each and every minute of it outside with my kids, out and about with friends and just enjoying myself!
It's so hard to say good-bye to summer!
 
So as I'm typing this out, my nerves are getting the best of me.
Why is it that after teacher for more than 7 years, every Labour Day weekend I get these butterflies in my stomach and I feel like a first year teacher?!?!
Is it just me?
 
I've been working hard all of last week getting my classroom ready for tomorrow with my kinders.
Here are some pictures!
 
This is my classroom door...nothing fancy but I thought it was cute!
 
I have this bulletin board (you may remember from last year) on the wall beside my door).
 
This is a view of my calendar wall, centres and math/language wall.
 
I put my students pictures on the coloured squares to show what group they belong to.
In case you didn't know (or are wondering what the "A" class, "B" class is) I teach Full Day/Alternate Day Kindergarten so I have 2 groups that alternate full days with me.
Yes, it's a lot but what I teach on Monday is the same on Tuesday, Wed/Thur. etc.
 
My Word Wall and Theme Board in front of the computer and Math Centre shelf.
 
Here is my Listening Centre and the pocket chart I use each morning when my kids come in.  They must put their name cards away (if someone is absent the Helper puts the name card on the smaller pocket chart by the window).  I like having it here because my Writing Centre is the table nearby (can't really tell in the picture).
 
Here is my Writing Centre with my cute little stools from Ikea.  I have been using those stools for nearly 8 years now!  LOVE!
 
I don't have a lot of room in my classroom so here is my {small} House Centre.
 
I only allow 3 students at a time in the House Centre and they must wear a necklace if they are playing there.
 
This is the BEST bookshelf EVER!
It holds lots of books on the front and big books on the back.  You can't tell from the picture but there is a felt board on the bottom - so this unit is really like 3 centres in 1!
Oh, and, of course, I have Deanna Jump's palm tree right beside it!
 
My Pocket Chart literacy centre, Guided Reading trolley and paint station.  The Guided Reading picture cards are from Deanna Jump's Guided Reading 101.
 
I put my Magentic Letters centre on the filing cabinet next to my desk....works so well!
Can you see the bus cut out on the shelf to the right?
That's part of my Write the Room literacy centre for this month.  We will be starting soon!
 
I keep all of the Literacy Centre baskets and activities on this shelf.  The 2 baskets on the bottom are for my Games and Word Work centres.
 
I have this bulletin board off to the side of my classroom, near the cubbies, which is my Religion Board.  This month I put all the kids names on apples and leaves and wrote "We Blossom Together" on the sign.
 
The cubby area and birthday wall above.
 
This is my Good Apple Behaviour Chart....I would love to explain but that would take all night (and it is a school night for me!) so I promise to post about this soon!
 
My Teacher Chair...I'm all ready for tomorrow's group!  They will be sitting in ABC order.
 
This is my sign posted on the bathroom door.  One side has a Stop sign, the other side says Go.  The kids have to flip it when they go to the washroom so the others know someone is inside and not to open the door.
It works!
Thank you to my teaching partner from a few years back, Ms. Tolentino, for this great idea!
 
Phew!
If you're still reading, thanks for hanging in to this long post.
I guess I kept going because I knew that when I came to the end I would have to go to bed and I am still so NERVOUS for tomorrow!
 
I'm going to try and post pictures of our first day later on this week so check back!
 

7

Classroom Pencil Crayon Fence D.I.Y.

Yes, you read the title correctly...
I'm going to show you how to make a classroom fence...an adorable one that looks like pencil crayons!...all by yourself (okay, maybe with a little help from your husband!)
 
For those of you that know me, you will know that I come up with about 4,000 ideas a day that I want to do/make/build but most of them I just don't follow through with.
I have wanted this classroom fence for almost a year now and we finally got around to making it this summer!

 
I discovered the fence last year on Julie Lee's blog.
It was adorable!  And when I showed my husband he said it would be pretty easy to make.
 
So here's how...
 
Get yourself a piece of 5' x 5' wood and sand it down.  You will need to take the measurement to be precise and then divide it into 6 equal parts by drawing a thin line with a pencil vertically.
 
Next, cut out small triangles on top of each of the 6 parts - those will be the pencil crayon 'tips'.
Draw lines on each tip - these will be painted black later.
 
I started putting masking tape around the tips of the pencil crayons to paint them black (if you are really good you probably don't need the tape).
You WILL need the tape down each side before you paint.
Paint colours 1,3,5 first, let them dry and then paint them a second coat.
When that's dry, take the tape off and retape the other areas so that you can paint colours 2,4,6.
 
I painted the "pencil colour" last.
Well, actually my 4-year old did!
 
This project was SO.MUCH.FUN!  I would definitely recommend it!
(By the way, my husband mounted smaller pieces of wood on either side of the bottom of the fence to make it stand alone.)
 
This beautiful fence now sits near my Writing Centre.
I'm sure it will be a hit this year with my kiddies!
 

23